Before preparing for an inspection, you must grasp the pertinent local building codes and regulations applicable to your property. These regulations differ depending on the location, necessitating thorough research into the specific requirements relevant to your area. This information is typically accessible through your local government website or by contacting the local building department directly. Acquainting yourself with these codes will afford you a more transparent comprehension of the criteria inspectors will evaluate during the inspection procedure.
Conduct a thorough self-inspection
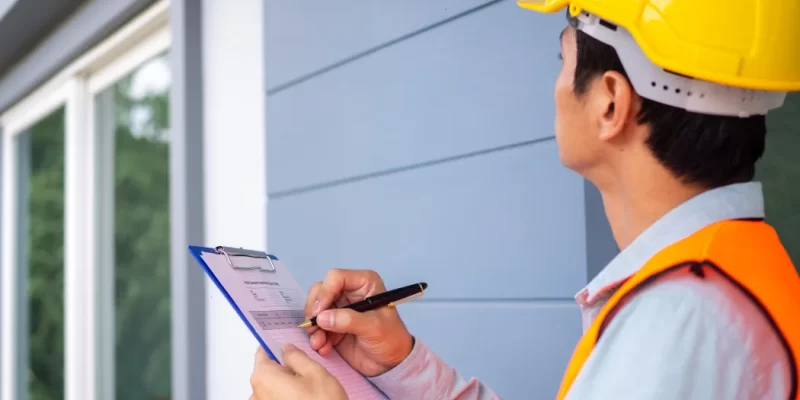
After mastering the local building codes, you must comprehensively self-inspect your property. This procedure entails meticulously assessing every facet of your building, both internally and externally, to detect any potential concerns that might arise during an official inspection. Begin by scrutinizing the exterior of your property, seeking out indications of damage, deterioration, or violations of codes. Give special consideration to the following zones:
- Roof – Look for missing, damaged, or loose shingles and any signs of leaks or water damage.
- Gutters and downspouts – Ensure they are appropriately secured, debris-free, and direct water away from the foundation.
- Siding and trim – Check for cracks, rot, or other damage, and ensure all elements are appropriately secured.
- Windows and doors – Verify that they are in good working condition, appropriately sealed, and up to code.
- Foundation – Look for cracks, settling, or other signs of structural issues.
Make necessary repairs and improvements
With your self-inspection complete and a list of issues, it’s time to start making repairs and improvements. Prioritize the items on your list based on their severity and potential impact on the inspection process. Start by addressing significant safety hazards or code violations, such as faulty electrical systems or structural issues. These items should be your top priority, as they pose the most critical risk to the safety of your property. Document your progress as you work through your list of repairs and improvements. Take before and after photos, and keep receipts for any materials or services purchased. This documentation will prove your efforts to maintain and improve your property, which is valuable during inspection.
Prepare for the inspection day
With your repairs and improvements complete, it’s time to prepare for the actual inspection day. Start by ensuring that your property is clean and clutter-free. This makes a good impression on the inspector and makes it easier for them to access and examine all areas of your building. Remove any personal items or furniture that may obstruct the inspector’s path, and ensure that all areas of the property are well-lit and easily accessible.
Plan to be present during the inspection. While only sometimes required, being on-site allows you to answer any questions the inspector may have and provides an opportunity to learn more about the condition of your property. If absent, ensure that a trusted representative assists the inspector, such as a property manager or maintenance supervisor.
Address any issues identified during the inspection
Once the vitalbuildinginspection is complete, the inspector will provide a report detailing any issues or code violations discovered during the process. Review this report carefully and prioritize any items that must be addressed. If any significant problems require immediate attention, such as safety hazards or code violations, take action as soon as possible to rectify the situation. Develop a plan to address less pressing issues within a reasonable timeframe. This may involve scheduling additional repairs, hiring contractors, or making further improvements to your property. Remember that failing to address the problems identified during an inspection results in fines, legal action, or even the closure of your property, so it’s essential to take prompt action.


Comments